Here’s a short video to walk through the download and initial set up of the checkbook spreadsheet.
How to rename a worksheet (tab)
To rename a worksheet, right-click on the tab (e.g., Register1) and choose Rename from the pop-up menu. Type your new name and press Enter to complete the process.
Update the Reconcile Worksheet
After renaming your worksheets, it’s a good idea to visit the Reconcile worksheet in order to put a similar label in the table under Register Name.
Update the Data Source Setting
This spreadsheet uses Excel Power Query to combine transactions into a single source for charts and graphs. So you’ll need to make sure that power query knows your new filename.
After saving this new spreadsheet to a permanent home folder on your computer (along with the desired filename), do the following:
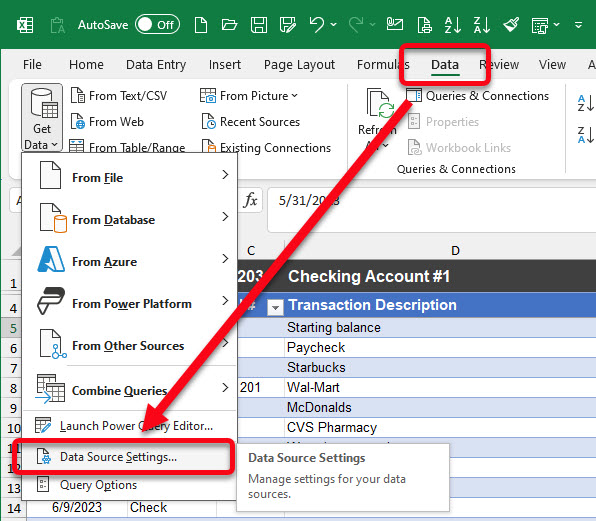
- Click the menu choice for Data –> Get Data
(click the little down-arrow beside that button) - Click the menu choice for Data Source Settings…
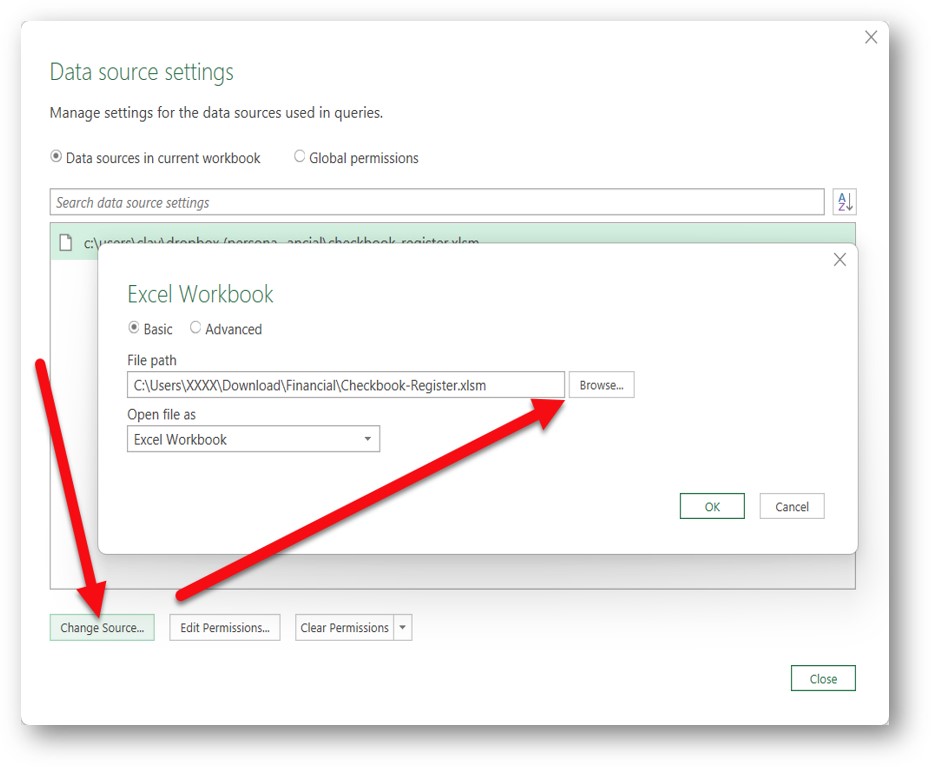
NOTE: Mac users, you might see a prompt that references “Microsoft.Mashup.Container” and asks for your keychain password. Read about that here. - On the dialog box that appears (sample screenshot below), click the Change Source button and then click the Browse button and find your new spreadsheet file and then click OK and click Close.
- Save your file (again!) to your existing filename
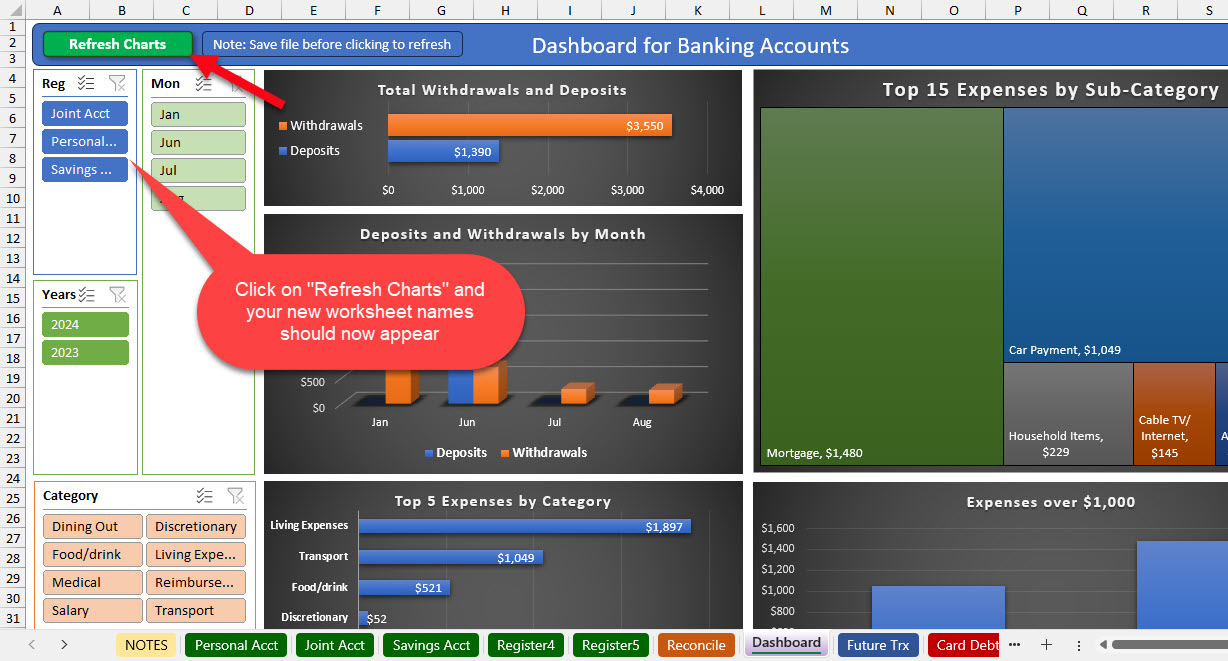
Refresh your Dashboard
After you have updated the data source setting above and saved your file again, you can visit the Dashboard screen and see your updated worksheet names.